


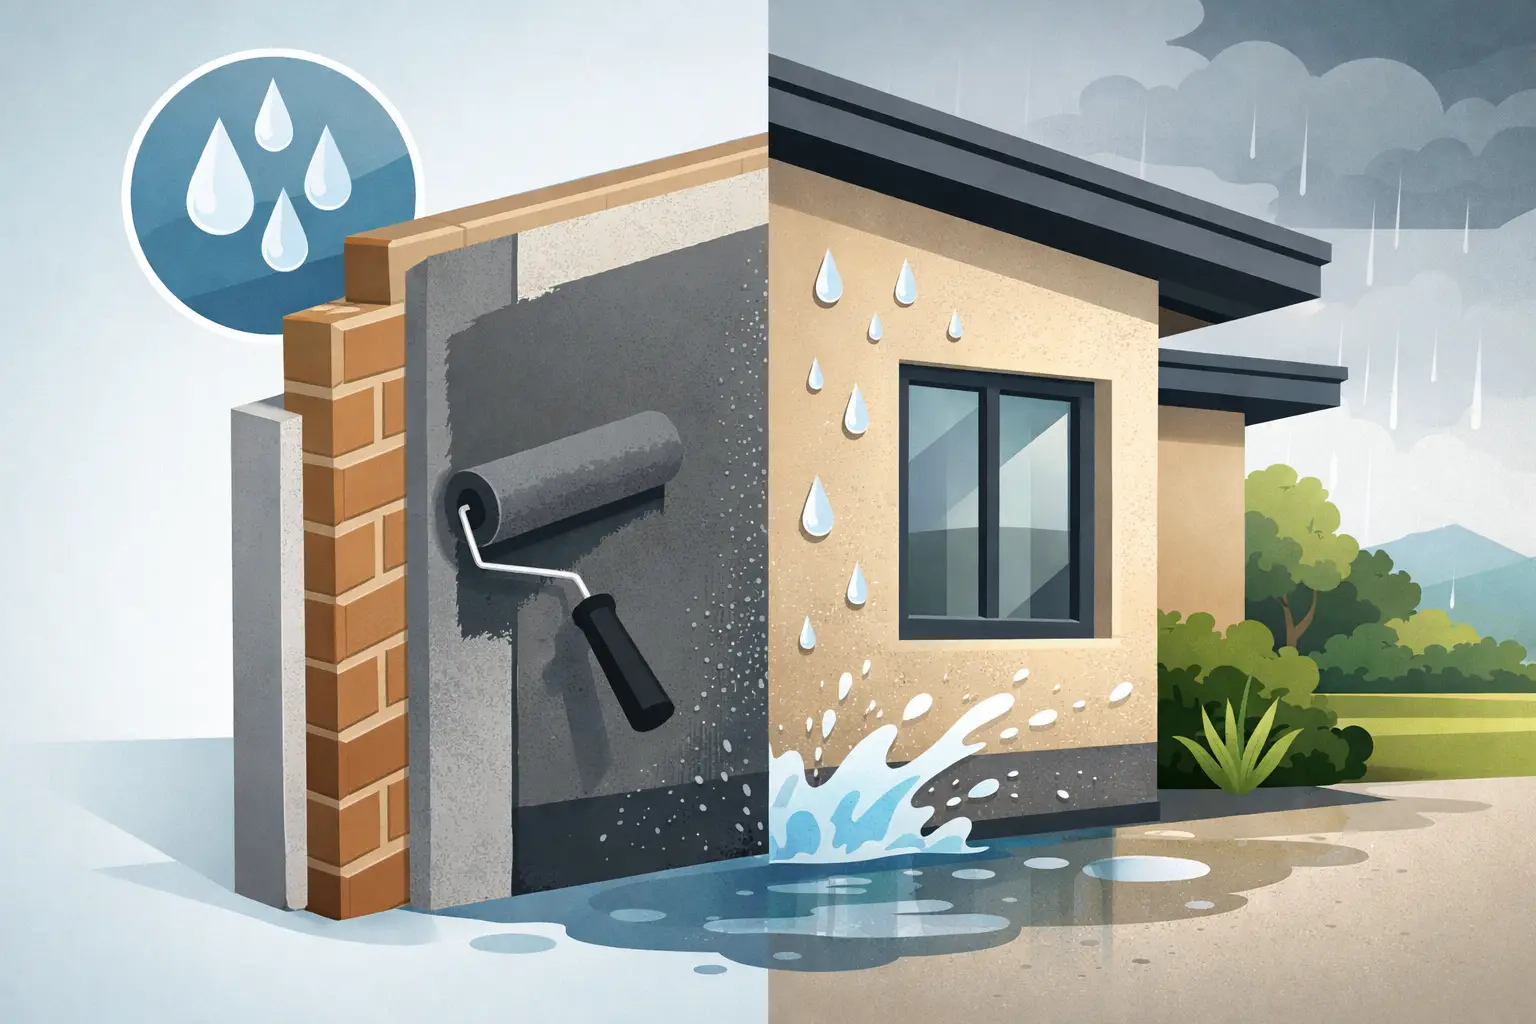
A wall can look finished, clean, and weather-tight while water is moving behind the cladding every time wind-driven rain hits the building. That is why knowing how to waterproof exterior walls is not simply a matter of applying a coating. Effective protection depends on a complete exterior wall assembly that manages bulk water, drains moisture, controls air leakage, and allows materials to dry when needed.
For contractors, builders, and property owners, the goal is straightforward: keep water from reaching moisture-sensitive components and provide a reliable path out for any water that gets past the exterior finish. The right system depends on the wall structure, climate, cladding type, and condition of the existing building.
Start With the Source of Water
Before selecting membranes, sealants, or panels, identify how water is entering or where it is most likely to collect. Exterior wall failures commonly begin at roof-to-wall transitions, windows, doors, penetrations, parapets, deck connections, and the base of the wall. A field of masonry or siding is rarely the only issue.
Look for visible symptoms such as staining, peeling paint, cracked sealant joints, efflorescence on masonry, swollen trim, corrosion, mold, or damp interior finishes. These signs help locate the failure, but they do not always reveal its exact origin. Water can travel behind cladding, along framing, or through wall cavities before becoming visible indoors.
For existing buildings, inspect the wall after a heavy rain and pay close attention to openings and horizontal transitions. On larger commercial projects or complex assemblies, moisture testing and exploratory openings may be necessary before specifying repairs. Applying a new coating over an unresolved flashing or drainage problem can conceal damage while allowing the leak to continue.
How to Waterproof Exterior Walls as a System
A dependable wall is designed in layers. The exterior cladding sheds most rain, but it should not be treated as the only water-control layer. Behind it, a continuous water-resistive barrier or waterproof membrane provides secondary protection. Flashing directs water outward at interruptions in that barrier, while drainage space prevents trapped moisture from remaining against the wall.
The key principle is shingle-style layering. Each upper component must overlap the component below it so water moves down and out. If tapes, flashings, membranes, and terminations are installed in the wrong sequence, water can be directed behind the protective layer rather than onto its face.
A typical high-performing exterior wall assembly includes these coordinated elements:
- A weather-resistant cladding system that sheds rain and resists UV exposure.
- A continuous water-resistive barrier or waterproofing membrane behind the cladding.
- Properly integrated flashing at windows, doors, transitions, and penetrations.
- A drainage cavity or rainscreen gap where the cladding system requires one.
- Compatible sealants, tapes, fasteners, and closures that maintain continuity.
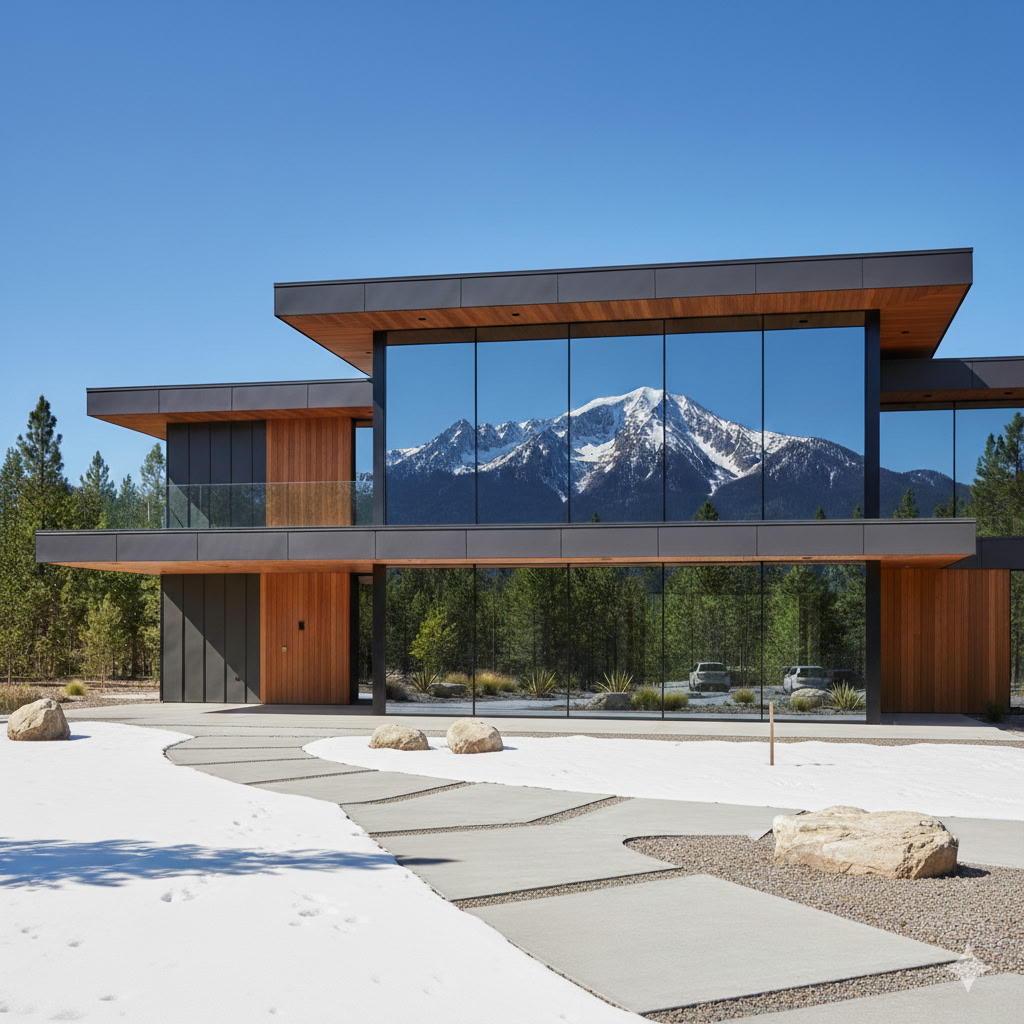
Not every wall needs the same membrane or cavity depth. For example, a vented rainscreen behind aluminum composite material panels, metal panels, or other panelized cladding can improve drainage and drying capacity. A solid masonry wall may require a different approach, particularly when addressing water absorption through porous brick, stone, or concrete block.
Prepare the Wall Before Adding Protection
Waterproofing materials perform only as well as the surface and details beneath them. Begin by removing failed caulk, loose paint, damaged siding, deteriorated mortar, and compromised trim. Repair cracks in stucco, masonry, or concrete using a compatible repair material. Replace rotted sheathing or framing rather than covering it with a new membrane.
The substrate should be clean, sound, and dry enough for the chosen product. Dust, oil, moisture, and uneven surfaces can prevent tapes and self-adhered membranes from bonding correctly. Follow manufacturer requirements for primers, temperature ranges, overlap dimensions, and curing times. These details are part of the system, not optional installation preferences.
At the bottom of the wall, confirm that the assembly has a drainage exit. Water behind cladding must be able to escape through weeps, drainage mats, open joints, or approved base details. Avoid burying cladding or drainage openings below finished grade, mulch, pavers, or landscaping.
Install the Water-Resistive Barrier Continuously
The water-resistive barrier is the wall’s primary backup layer behind cladding. Depending on the assembly, it may be building wrap, fluid-applied membrane, self-adhered membrane, or another code-approved system. The selection should match the substrate, climate exposure, cladding, and desired air-control performance.
Install the barrier from the bottom upward, lapping horizontal seams so upper layers shed onto lower layers. Seal vertical seams, corners, transitions, and penetrations according to the membrane manufacturer’s requirements. Keep fastener penetrations to a minimum and patch accidental tears immediately.
Continuity matters most at transitions. The barrier must connect properly to foundation waterproofing, roof underlayment or flashing, window flashing, door flashing, and adjacent wall systems. A wall wrap that stops short of these connections leaves predictable leak paths at the very locations most exposed to water.
Fluid-applied membranes can be especially useful on irregular substrates and walls with numerous penetrations because they form a continuous coating when applied at the required thickness. Self-adhered membranes offer strong adhesion and are often effective around openings and difficult transitions. Both require careful substrate preparation and compatible accessories.
Flash Windows, Doors, and Penetrations in Sequence
Openings are where exterior wall waterproofing is most often won or lost. Window and door units should be installed with a sloped sill condition or sill pan flashing that directs incidental water to the exterior. The head, jambs, and sill need to work as one integrated detail, not as separate strips of tape.
A practical sequence begins with sill flashing, followed by jamb flashing, then head flashing. The water-resistive barrier above the opening should lap over the head flashing so water stays on the drainage plane. Do not rely on perimeter sealant alone. Sealant is a joint material that requires maintenance over time, while flashing is the mechanical path that manages water when sealant eventually ages or cracks.
Use the same discipline at pipes, vents, electrical boxes, hose bibs, wall lights, and attachment brackets. Wherever possible, use purpose-made flashing boots or compatible preformed components. Sealant should support the detail, not substitute for it.
Create Drainage Behind Exterior Cladding
Many modern cladding systems perform best as rainscreen assemblies. A rainscreen creates a controlled gap between the cladding and water-resistive barrier, allowing liquid water to drain and encouraging air movement that helps the wall dry. This is particularly valuable in regions with frequent rainfall, freeze-thaw cycles, or high humidity.
Furring strips, drainage mats, clips, and engineered support systems can create this cavity, depending on the cladding. The design must account for ventilation openings, insect screening, fire requirements, fastening loads, and the thickness of the finished wall. Details at the top and bottom must keep pests out without blocking drainage.
Panel cladding, including ACM, aluminum, and other architectural exterior panels, can offer durable, low-maintenance weather protection when specified with a compatible subframing and drainage strategy. The visible panel is only one part of the exterior envelope. Backing materials, joints, flashings, and attachment details determine how the full system performs over time.
Use Sealants and Coatings for the Right Purpose
Sealants are essential at movement joints, trim interfaces, and selected perimeter conditions, but they are not a universal waterproofing solution. Choose a sealant compatible with the substrates, expected movement, UV exposure, and joint geometry. Backer rod is often needed to control joint depth and establish a proper two-sided bond.
Inspect sealant joints regularly, especially on elevations exposed to strong sun, wind-driven rain, or major temperature swings. A cracked or detached sealant bead should be removed and replaced rather than covered with another layer.
Water-repellent coatings can reduce absorption on sound masonry, stucco, and concrete. They are useful when the substrate itself is porous, but they will not correct failed flashing, structural cracks, or missing drainage. Select vapor-permeable products where drying potential is needed, and test a small area first to confirm appearance and compatibility.
Verify the Details Before the Wall Is Closed
Quality control is less expensive than leak repairs after finishes are installed. Review laps, terminations, taped seams, flashing transitions, drainage openings, and penetrations before cladding covers the wall. Document concealed work with photographs, especially around windows, doors, and complex intersections.
For larger projects, consider targeted water testing of windows, curtain wall transitions, and other high-risk details. Testing early provides an opportunity to correct workmanship or design issues before they affect insulation, sheathing, interior finishes, and project schedules.
Exterior wall waterproofing is not about finding one product that does everything. It is about specifying compatible layers that direct water out, preserve drying capacity, and stand up to the building’s real weather exposure. When each detail supports the next, the finished wall delivers the durability, appearance, and lower maintenance that owners expect.


Leave a Reply