


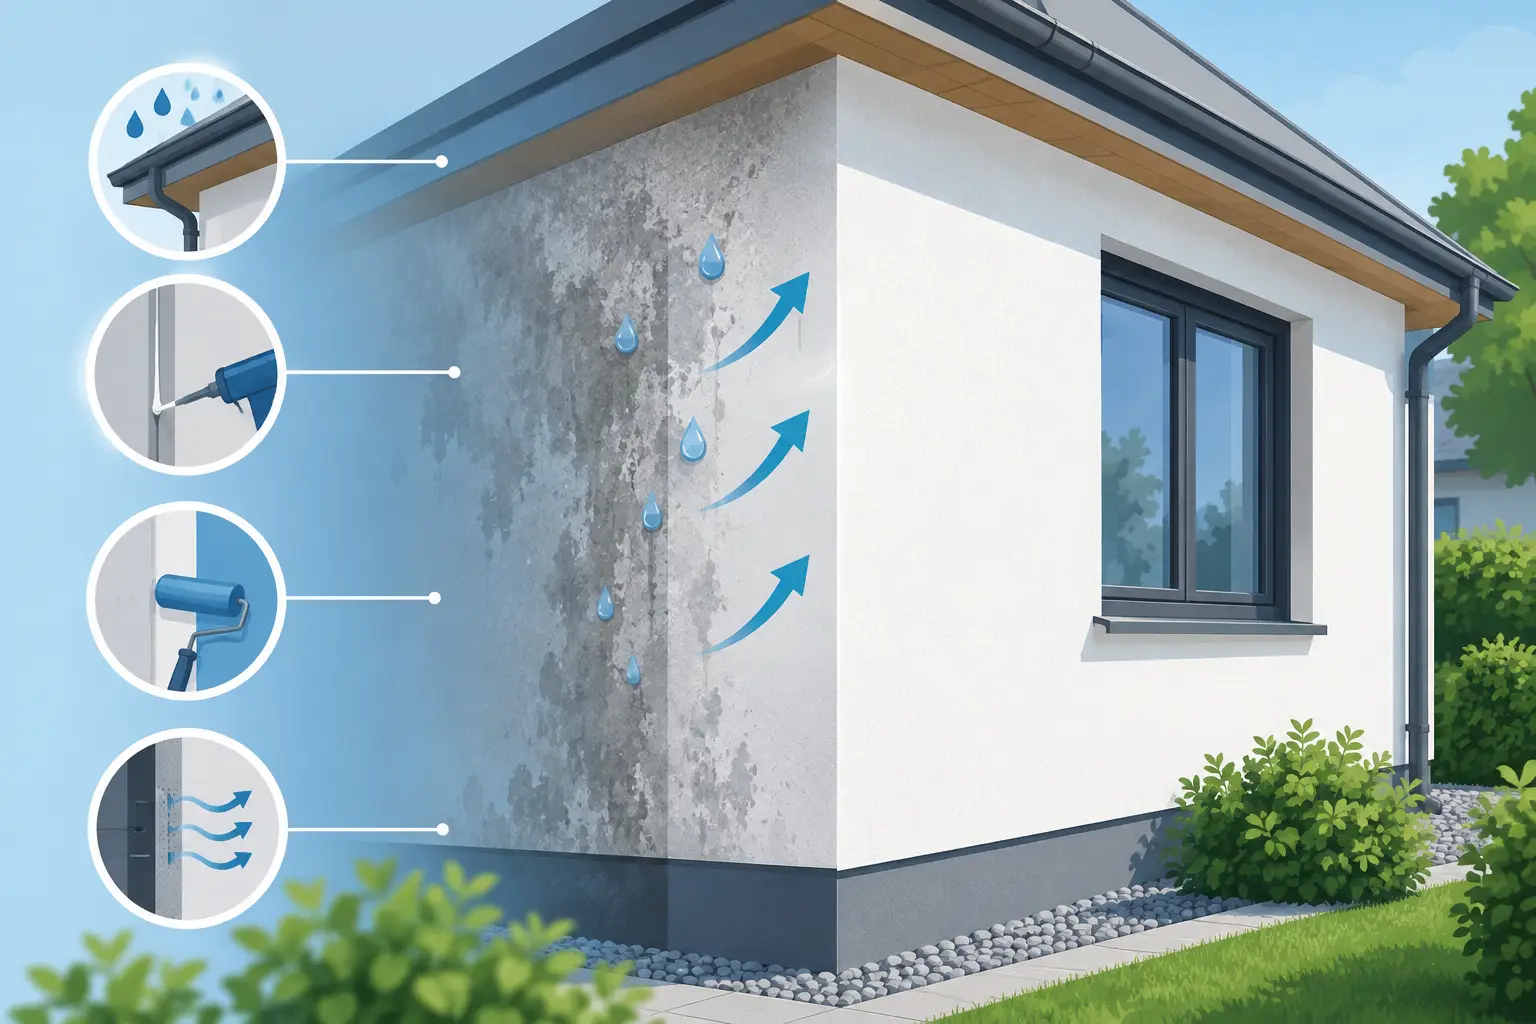
Facade moisture problems rarely begin with a dramatic leak. More often, they start at a window head, panel joint, roof transition, or poorly detailed penetration where small amounts of water enter repeatedly. Knowing how to prevent facade moisture means designing the entire exterior wall to manage rain, air, and vapor – not expecting the visible cladding alone to keep every drop out.
For builders, architects, developers, and property owners, this approach protects more than appearance. It helps prevent staining, corrosion, mold risk, insulation damage, freeze-thaw deterioration, and expensive repairs behind finished exterior materials.
How to Prevent Facade Moisture With a Layered Wall System
An exterior facade performs best when every layer has a specific job. The cladding sheds most rain and protects the wall from UV exposure and physical impact. Behind it, a drainage cavity allows water that gets past the exterior surface to drain and evaporate. A properly lapped weather-resistive barrier provides the primary water-control layer, while air sealing and insulation help control condensation within the wall assembly.
This principle matters because no facade is completely watertight at every joint under wind-driven rain. Panel seams, window perimeters, fastener locations, and service penetrations all need to accommodate movement and weather exposure. A wall that assumes no water will ever get behind the cladding is vulnerable. A wall that directs incidental water safely back to the exterior is built for real conditions.
Use a Rainscreen Cavity Behind Cladding
A ventilated rainscreen is one of the most effective strategies for moisture control. It creates a deliberate gap between the cladding and the water-resistive barrier, usually formed with furring, rails, or a tested attachment system. This cavity gives water a path downward and allows airflow that supports drying.
The required cavity depth depends on the cladding system, building height, drainage design, attachment method, and local exposure. For example, a low-rise residential wall in a protected location may have different requirements than a high-rise commercial elevation exposed to strong wind-driven rain. The key is continuity: the cavity must remain open enough to drain and ventilate, including around horizontal transitions and behind panel systems.
ACM panels, aluminum panels, and other durable architectural cladding products can be excellent outer layers in a rainscreen assembly. Their weather resistance and dimensional stability support long-term facade performance, but they should be detailed as part of a complete wall system rather than treated as the sole waterproofing layer.
Install a Continuous Water-Resistive Barrier
The weather-resistive barrier, often called the WRB, is the wall’s primary drainage plane. It must be continuous behind the cladding and properly integrated with flashings, windows, doors, roof interfaces, and penetrations.
Material selection should match the project conditions. Some assemblies require a mechanically attached WRB, while others use self-adhered membranes or fluid-applied systems. Compatibility matters. Sealants, tapes, membranes, substrates, and insulation products should be verified as a system, particularly where different manufacturers’ products meet.
A high-quality membrane cannot overcome poor installation. Overlaps must be shingle-lapped so water sheds outward, seams must be sealed as specified, and damaged areas must be repaired before cladding is installed. Pay special attention to corners, wall-to-roof transitions, and changes in substrate, where continuity is often lost.
Detail Openings Before Installing the Facade
Windows and doors are among the most common sources of facade moisture. The problem is not always the window or door itself. In many cases, water enters where the opening was not flashed correctly or where the exterior cladding system was not coordinated with the opening details.
A properly flashed opening needs a sloped sill or sill pan that directs water outward, jamb flashing that integrates with the WRB, and head flashing that prevents water from entering above the unit. The sequence matters: upper layers should overlap lower layers so gravity carries water to the exterior.
Do not rely on sealant as the only defense at window and door perimeters. Sealants are valuable for designed joints, but they age, move, and eventually require maintenance. The flashing system should still manage water if a sealant joint is compromised.
The same logic applies to vents, electrical boxes, hose bibs, signage anchors, balconies, and mechanical penetrations. Every interruption in the wall is a potential leak path. Minimize unnecessary penetrations, use purpose-designed flashing accessories where available, and ensure each penetration is sealed and lapped into the drainage plane.
Control Condensation From the Inside Out
Not all facade moisture comes from rain. Condensation can form when warm, humid air reaches a cold surface within the wall. This is especially common in buildings with indoor humidity loads, including multifamily properties, healthcare facilities, gyms, restaurants, and tightly occupied commercial spaces.
Air leakage is usually a larger condensation risk than vapor diffusion. A small gap in the air barrier can carry a significant amount of moist indoor air into the wall cavity. For this reason, a continuous air barrier with carefully sealed transitions is essential. It must connect at wall intersections, floor lines, roofs, foundations, windows, and service penetrations.
Insulation placement also affects the dew point. Continuous exterior insulation can keep sheathing and other sensitive layers warmer, reducing the likelihood of condensation in cold climates. The right approach depends on the climate zone, wall structure, interior humidity, insulation values, and vapor permeability of the materials selected.
Vapor control should never be treated as a one-size-fits-all rule. A vapor retarder that works well in a cold northern climate may be inappropriate in a hot-humid or mixed climate. Before specifying an interior vapor retarder or low-permeance exterior layer, evaluate the full wall assembly and local code requirements. Trapping moisture between two highly vapor-resistant layers can limit drying and create a long-term problem.
Choose Cladding Materials That Handle Exposure
Exterior materials should be selected for the building’s climate, orientation, use, and maintenance plan. South- and west-facing elevations may experience higher heat and UV exposure. Coastal locations can require greater resistance to salt air and wind-driven rain. Freeze-thaw regions need materials and detailing that avoid standing water and repeated saturation.
Durable panel systems offer a practical advantage because they can provide a refined architectural finish while resisting weathering and requiring less maintenance than many conventional exterior finishes. Aluminum and ACM panel systems are also available in a broad range of colors, sizes, and finishes, making it easier to meet design intent without compromising the basic moisture-management strategy.
However, material quality and installation quality are equally important. Panels must be installed with the correct fastening method, joint spacing, edge clearances, and allowance for thermal movement. If movement is restrained, joints may open, panels may distort, or sealants may fail prematurely.
Protect the Bottom and Top of Every Wall
Water needs a clear exit path. At the base of a rainscreen wall, provide drainage openings, weeps, or vented closure details that allow water to leave without allowing insects or debris to block the cavity. The bottom edge should be coordinated with grade, paving, decks, and roof surfaces so splashback and standing water do not saturate the lower wall.
Keep cladding and moisture-sensitive materials at appropriate clearance from soil and landscaping. Mulch, irrigation, and snow accumulation can hold moisture against the facade and conceal early warning signs of deterioration. On commercial projects, coordinate the lower-wall design with landscaping and site drainage before construction begins.
At the top of the wall, cap flashings, parapets, coping, and roof-to-wall transitions need equal attention. Water entering from above can travel far behind cladding before it becomes visible indoors. Sloped caps, properly lapped membranes, end dams, drip edges, and sealed terminations help prevent this hidden intrusion.
Build for Inspection and Maintenance
Even the best facade requires periodic inspection. Sealant joints, flashings, gutters, roof interfaces, and drainage openings should be reviewed on a regular schedule, especially after severe storms. Look for staining, efflorescence, warped finishes, open joints, blocked weeps, rust marks, or recurring wet areas near openings.
For larger residential and commercial projects, document the facade installation before panels or finishes conceal critical layers. Photos of the WRB, flashings, transitions, and penetrations provide valuable records for quality control and future maintenance. Water testing at representative windows, doors, and complex transitions can also identify issues before occupancy.
At First Class Building Products, facade material selection starts with the reality that long-term performance depends on both the product and the assembly around it. Choose durable cladding, specify compatible layers, and require disciplined installation details. A facade designed to shed, drain, dry, and accommodate movement will stay cleaner, stronger, and easier to maintain through years of changing weather.

Leave a Reply