



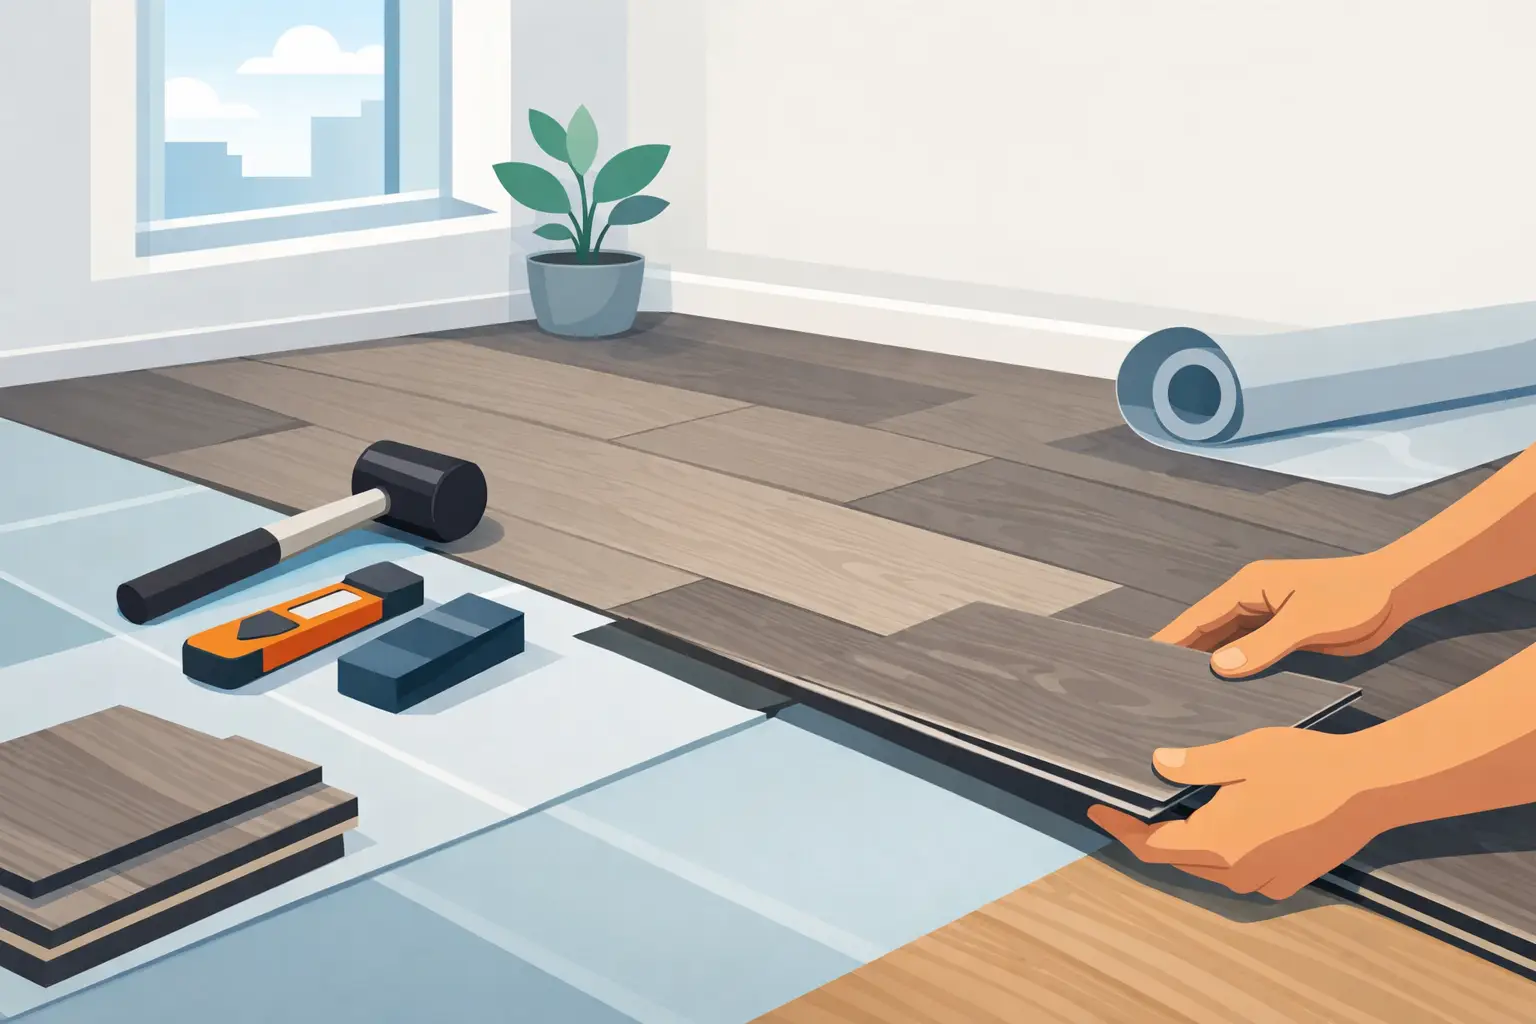
A finished SPC floor can look precise and perform for years, but the visible surface is only as good as the preparation beneath it. Knowing how to install SPC flooring correctly means controlling the subfloor, room conditions, expansion space, and plank layout before the first board is locked into place. For contractors, renovators, and homeowners, these details prevent the callbacks that come from shifting planks, open joints, or uneven finished floors.
Why SPC Flooring Installation Requires Careful Preparation
SPC, or stone plastic composite flooring, is a rigid-core vinyl product valued for waterproof performance, dimensional stability, and low maintenance. Its core resists moisture better than many traditional flooring materials, making it a practical option for kitchens, entryways, basements, multifamily units, and commercial interiors.
Waterproof does not mean the installation is forgiving. SPC planks still need a clean, dry, flat, structurally sound surface. A high spot can stress the locking mechanism. A low spot can leave unsupported areas that flex under foot traffic. Poor layout can leave narrow planks at a doorway or an awkward strip along a highly visible wall.
Before beginning, review the specific flooring manufacturer’s installation instructions. Locking profiles, approved underlayments, moisture-barrier requirements, and acceptable subfloor tolerances vary by product. Those instructions take priority over general installation practices.
Tools and Materials to Have Ready
Set up the work area before opening flooring cartons. You will typically need a tape measure, chalk line, straightedge, utility knife with extra blades, tapping block approved for the plank profile, pull bar, rubber mallet, spacers, safety glasses, and a jigsaw or miter saw for detailed cuts. A vacuum is equally useful because dust, loose fasteners, and small debris can interfere with the finished floor.
Use transition moldings, reducers, T-moldings, and baseboard or quarter round that suit the project conditions. These finishing components are not cosmetic afterthoughts. They protect expansion gaps and create a clean transition between rooms and adjacent floor finishes.
Inspect the Site and Condition the Material
SPC flooring should be installed after wet trades are complete and the building is enclosed. Heating and air conditioning should be operating at normal occupied conditions. The goal is to install the material in the same temperature and humidity range it will experience in service, rather than in an unfinished, uncontrolled space.
Bring unopened cartons into the installation area according to the manufacturer’s acclimation guidance. SPC is more stable than many wood-based products, so required acclimation time may be limited, but it should not be skipped when the product instructions call for it.
Inspect cartons and planks before installation. Check color, pattern, finish, locking edges, and product batch consistency under adequate lighting. Mix planks from several cartons as you work. This distributes natural pattern variation across the room rather than concentrating similar visuals in one area.
Prepare the Subfloor Before Installing SPC Flooring
Subfloor preparation is the most important part of the job. Remove carpet, padding, fasteners, adhesive residue, loose flooring, and anything that creates an unstable surface. Existing hard-surface flooring can sometimes remain in place if it is fully bonded, level, and approved by the flooring manufacturer. Soft, cushioned, damaged, or loose surfaces should be removed.
For concrete, verify that the slab is dry and meets the product’s moisture requirements. Address active moisture issues, cracks, and surface defects before flooring begins. Use a patching compound suitable for the substrate to fill low areas, and grind high spots as needed. Many rigid-core flooring products require flatness within a stated tolerance over a 6- or 10-foot span. Do not assume a tolerance – use the requirement published for the selected product.
For wood subfloors, secure loose panels, replace damaged sections, and correct squeaks before installation. The surface must be stable and free from excessive deflection. SPC flooring can bridge minor visual imperfections, but it cannot correct a moving or uneven subfloor.
Sweep and vacuum thoroughly. Then check the entire room with a long straightedge, not just the center. Doorways, exterior walls, floor drains, old patch areas, and transitions are common problem locations.
Plan the Layout Before You Lock the First Plank
Measure the room width and divide it by the width of one plank to estimate the size of the final row. If the last row will be very narrow, rip the first row so the first and last courses are more balanced. This produces a stronger, more professional-looking perimeter.
Choose the installation direction based on the room shape, main sightline, and available light. Running planks parallel to the longest wall often makes a room feel more proportionate, but architecture may suggest another direction. In hallways, align the flooring to create a consistent visual path rather than forcing an unfavorable layout from an adjacent room.
Plan plank staggering before cutting. End joints should be offset by the minimum distance specified by the manufacturer, commonly several inches. Avoid repeating a predictable stair-step pattern and avoid placing short end pieces near doorways or other high-traffic areas when a better layout is possible.
Undercut door jambs where needed so flooring can slide beneath them while maintaining the required expansion space. Do not force planks tightly around jambs, pipes, columns, or fixed millwork.
How to Install SPC Flooring Step by Step
Begin along a straight, visible wall, using spacers to maintain the expansion gap required by the product instructions. Walls are not always square, so snap a reference line if necessary. A straight first row determines the quality of every row that follows.
Connect the first-row planks using the product’s angle-lock or drop-lock method. Do not strike the plank edge directly with a mallet. Use an approved tapping block only when needed and apply controlled force. If a joint will not close, stop and inspect it for debris, damage, or an incorrect angle. Forcing a joint can break the locking profile and create a weak point in the floor.
For the second row, use the offcut from the previous row only if it meets the required minimum length and creates the correct end-joint offset. Angle the long edge of each plank into the previous row, then lock the end joint according to the product design. Check frequently that joints are tight and rows remain straight.
Continue across the room, maintaining spacers at walls and fixed vertical surfaces. Cut the final plank in each row to fit, leaving the same expansion allowance at the perimeter. Score-and-snap cutting works well for many SPC products, while a jigsaw is useful for notches, curved cuts, and pipe penetrations.
Do not trap a floating SPC floor beneath cabinets, islands, heavy built-ins, or fixed partitions unless the manufacturer specifically permits that installation method. The floor needs room to expand and contract. Where large rooms, long runs, or transitions exceed the product’s maximum continuous installation area, use expansion joints or transition moldings as required.
Finish the Perimeter and Protect the Floor
After the final row is installed, remove all spacers. Install baseboard or quarter round to cover the expansion gap, fastening the trim to the wall rather than through the flooring. The same principle applies to transitions: secure them according to their design without pinning the floating floor in place.
Reinstall doors, trim, and appliances carefully. Use protective boards when moving heavy equipment across the new floor. Confirm that appliances can be moved without crushing or restricting the floor at walls and cabinetry. For commercial projects, coordinate traffic protection before other trades return to the space.
Clean the completed floor with a manufacturer-approved method. Avoid abrasive pads, waxes, steam cleaning, and harsh chemical cleaners unless specifically approved. SPC flooring is low maintenance, but grit at entry points can still dull the surface over time, so use walk-off mats where appropriate.
A successful SPC installation is not defined by how quickly the last plank clicks into place. It is defined by a flat, properly prepared substrate, controlled room conditions, clean expansion details, and a layout that respects the product’s limits. When those fundamentals are handled correctly, SPC flooring delivers the durable, refined finish that residential and commercial projects demand.



Leave a Reply